
Software Architect | Software Engineer | Principal Consultant | Paraglider | PhD
SAP CAP with Social Login and RBAC using Auth0
Unchain SAP CAP: How to enable social login and role based access control using Auth0
Today we explore how to use a different Identity and Access Management (IAM) Solution for a SAP CAP node.js based application. The default approach to handle Authentication and Authorization with CAP is to use XSUAA in conjunction with BTP. But as openness is one key principle of CAP we can also use something else.
Auth0 is one popular Access Management Solution outside of the SAP ecosystem which also supports Social Auth, Passwordless Auth and Role Based Access Control (RBAC) for defining roles and assigning them to users.
Outline #
What we will build in this article:
- Demo Project: Demo SAP CAP Project which provides a simple OData Service
- Authentication with Auth0: The OData Service can only be accessed by authenticated user.
- Role Base Secured Service: Data can only be read or written by users who have the necessary roles assigned.
This post will take you through the following 3 steps:
- Create an Auth0 project and configure it
- Create a CAP App with a custom server handler
- Add a custom authentication handler to CAP
- Bonus: Add and secure a simple Fiori App.
Setup Auth0 Project and Configuration #
Register an Application #
We first create a regular "Web Application" at Auth0. There we need to note down the following information:
- Domain, which we will use later as
ISSUER_BASE_URL - Client ID, which we will use later as
CLIENT_ID - Client Secret, which we will use later as
CLIENT_SECRET

For testing purpose we need to configure the following parameters:
- Allowed Callback URLs: http://localhost:4004/callback
- Allowed Logout URLs: http://localhost:4004
- Allowed Web Origins: http://localhost:4004
- Allowed Origins (CORS): http://localhost:4004
Register an API #
In our application we want to use roles. These can be defined in Auth0 using APIs with RBAC Policies activated.

We activate "Enable RBAC" and "Add Permissions in the Access Token".
Then we define the possible roles read:books and write:books which we can assign later to our users.

Setup Demo CAP Project #
Let's create a minimal CAP Project with cds init.
Then we create a simple model in the db/schema.cds:
namespace db;

entity Books {
    isbn  : String;
    title : String;
}
Next we create a service in srv/catalog-service.cds:
using {db} from '../db/schema';

@(requires : 'authenticated-user')
service CatalogService {

    entity Books as projection on db.Books;

    @(restrict: [
        {grant: 'READ', to: 'read:books'},
        {grant: 'WRITE', to: 'write:books'},
    ])
    entity ProtectedBooks as projection on db.Books;
}
We only want to allow authenticated users to access the Service. This can be achieved by annotating the service with @(requires : 'authenticated-user') (see SAP CAP - Restricting Roles with @requires).
Further, a user should only be allowed to read data, if the role read:books is assigned to the user. Similar, we grant write access only to users who have the role write:books assigned. Both is achieved with the restrict:grant:to annotation (see SAP CAP - Access Control with @restrict).
For testing, we add some dummy data by adding a db.Books.csv file into the folder db/data (see SAP CAP - Providing Initial Data).
Testing the initial App #
That's already enough to start and test the app with cds watch. Navigate to http://localhost:4004/catalog/Books and we will receive a popup asking for username and password. This means, that the endpoint is secured. The default mocked admin user is alice with password alice. We will see a response with the books.
Let's try to navigate to http://localhost:4004/catalog/ProtectedBooks. We will receive a 403 - forbidden message, as the user is missing the role read:books. We can add the role in .cdsrc.json and we will retrieve data:
{
  "requires": {
    "auth": {
      "users": {
        "alice": {
          "roles": ["read:books"]
        }
      }
    }
  }
}Note: Do the testing in an incognito window, otherwise you have to remove cookies per hand.
Custom Server Handler #
Before we start, we need to add some dependencies for our implementation:
npm add express-openid-connect jsonwebtokenFirst, we create our custom server handler in srv/server.js:
const cds = require("@sap/cds");
const { auth, requiresAuth } = require("express-openid-connect");

const config = {
  authRequired: false, // deactivate auth for all routes
  auth0Logout: true, // logout from IdP
  authorizationParams: { // required to retrieve JWT including permissions (our roles)
    response_type: "code",
    scope: "openid",
    audience: "https://cap-auth0-demo-api.com",
  },
};

cds.on("bootstrap", (app) => {
  // initialize openid-connect with auth0 configuration
  app.use(auth(config));
});

module.exports = cds.server;
This implementation extends the standard CAP express implementation. We use the one-time event bootstrap to add the general auth configuration (see SAP CAP - Bootstrap).
The package express-openid-connect configures also a /callback, /login and /logout route. The /callback route is used to process the JWT token which we receive after login using Auth0.
We set the parameter authRequired to false, to deactivate auth checks on every route. We want to have full control which route to protect.
To retrieve the JWT token including roles, we need to provide authorizationParams.
Environment Variables #
The configuration requires more environment specific and security related information which we store in an .env file. There we add the Auth0 variables ISSUER_BASE_URL, CLIENT_ID, and CLIENT_SECRET. Additionally, we need to add a BASE_URL, which is the root URL of the app, e.g., http://localhost:4004 and a SECRET variable, which is used to crypt the cookie which holds the auth information for the user, e.g., an 80-character string.
ISSUER_BASE_URL=<AUTH0_ISSUER_BASE_URL>
CLIENT_ID=<AUTH0_CLIENT_ID>
CLIENT_SECRET=<AUTH0_CLIENT_SECRET>

SECRET=<LONG_RANDOM_STRING>
BASE_URL=<http://localhost:4004>Note: Environment specific or security related configuration should always be stored outside of the code, e.g., in .env files. Security related information such as passwords or secret keys must never be checked into git.
Custom Auth Handler #
Now, we need to add a custom Auth implementation to CAP. The general approach is described in the documentation: SAP CAP Custom-Defined Authentication. The Auth handler is used as express middleware within CAP to protect the routes in srv/auth.js.
const cds = require("@sap/cds");
const { requiresAuth } = require("express-openid-connect");
const jsonwebtoken = require("jsonwebtoken");

// To debug this module set export DEBUG=cds-auth0
const DEBUG = cds.debug("cds-auth0");

// CAP user
const Auth0User = class extends cds.User {
  is(role) {
    DEBUG && DEBUG("Requested role: " + role);
    return role === "any" || this._roles[role];
  }
};

// the authentication function for CAP
function capAuth0(req, res, next) {
  if (!req.oidc.user) {
    DEBUG && DEBUG("No user");
    return next(Error());
  }

  // map token attributes to CAP user
  let capUser = {
    id: req.oidc.user.sub,
    _roles: ["authenticated-user"],
  };

  // retrieve permissions
  let jwtDecoded = jsonwebtoken.decode(req.oidc.accessToken.access_token);

  if (jwtDecoded.permissions) {
    capUser._roles.push(...jwtDecoded.permissions);
  }

  req.user = new Auth0User(capUser);

  DEBUG && DEBUG("capUser");
  DEBUG && DEBUG(capUser);

  next();
}

module.exports = [requiresAuth(), capAuth0];
The key in this implementation is to check if a user is logged-in and translate it to the cds.User object which is evaluated by CAP. The security handling (login, logout, etc.) is handled by the requiresAuth() handler provided by the express-openid-connect package and configured in the last step. We simply need to check the oidc request variable and extract the user information (including the roles) into an extended class of cds.User. This class requires the function is() which returns true, if the requested role is present and false otherwise.
Next, we need to tell CAP where to find the custom auth implementation by adding the following lines to cdsrc.json:
{
  "requires": {
    "auth": {
      "impl": "srv/auth.js"
    }
  }
}
Testing the custom Auth Implementation #
Let's navigate to http://localhost:4004/catalog/Books. This time we are redirected to the Auth0 login page. If we have no user yet, we can sign up. Otherwise, we can use email/ password to login or any social provider we have configured. After successful login, we should see the books.

Let's navigate to http://localhost:4004/catalog/ProtectedBooks and we should get a 403-Forbidden, as we have not yet configured the roles. We will do this in the next step.
User Management in Auth0 #
In Auth0 we can assign roles per hand to users or using a Management API. For simplicity of this article, we do it manually in the Auth0 console. First we create a role, e.g., book_viewer. Then we assign the permissions, e.g., read:books. Then we assign the role to users.
Note: In a productive scenario it is possible to use the Auth0 Management API to assign users to roles. See Auth0 Management API.
Testing the roles #
Let's navigate to http://localhost:4004/catalog/ProtectedBooks and now we should see the books. We may need to logout and login again. We can do this by using the URLs http://localhost:4004/login and http://localhost:4004/logout.
Debugging #
We can debug the application at anytime by setting a debug environment variable like so:
# windows powershell
$env:DEBUG="cds-auth0"

# windows cmd
set DEBUG=cds-auth0

# unix
export DEBUG=cds-auth0
Bonus: Protect an App #
Let's create an app with the known generators in VS Code, e.g., app/bookshop.
If we are not logged in and we navigate to http://localhost:4004/bookshop/webapp/ we will receive an error page, but we are not redirected to a login screen. Within the SAP ecosystem the app router would handle this gracefully.
A simple solution is to add a protected route, e.g., /app which serves the static assets within the /app folder. The protected route checks if a user is logged in. If not, the user is redirected to the login form. Therefore, we add the following line into the server.js after the line app.use(auth(config));
app.use('/app', requiresAuth(), express.static(__dirname + '/../app'));Note: Do not forget to import express with const express = require('express');
With this set, we are redirected to the login page if we try to access http://localhost:4004/app/bookshop/webapp/.
Related Articles from the SAP Network #
I am not the first person who wanted to try out a different Auth approaches using CAP. Here are some inspirations with different implementation approaches which I stumbled across while writing this article:
- Custom authentication in CAP with social logins by Jorg Thuijls
- Unchain CAP – Authenticate to a CAP service using Azure AD B2C by Gregor Wolf
Final Thoughts #
You see, that it is not that hard to implement a custom authentication provider like Auth0 if you understand what needs to be done. Still, this is a custom implementation and I hope to see more out-of-the-box support. Alternatively, someone from the community may pick up these ideas and create packages to support similar scenarios, like Gregor Wolf did with his package cds-azure-ad.
You may also enjoy

Empowering Your Data Analytics with GPT-3 and SAP CAP
Answer free text questions against the DB using GPT-3.
SAP CAP Adapter to expose OData as custom REST Service
Let's build an adapter with SAP CAP to transform an OData Service to a custom REST Service
How to deploy SAP CAP Anywhere with Docker
Deploy SAP CAP on Heroku and containerize it with Docker
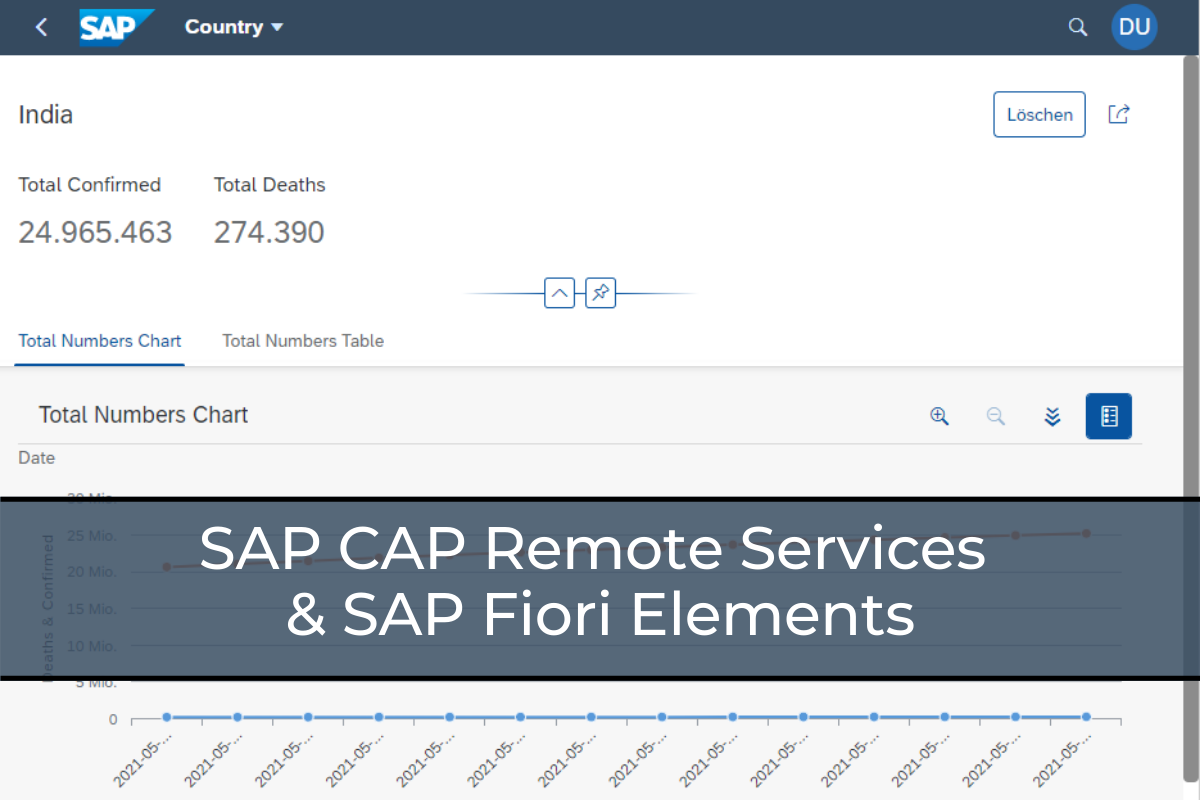
SAP CAP Remote Services & SAP Fiori Elements
Evaluate and explore the capabilities of SAP CAP and SAP Fiori Elements with "Yet Another Covid-19 Tracker".